How to organize your kitchen
With it being spring time, many of us are looking around our homes for cleaning and organizing projects to spruce things up! Personally, I tend to look for the latter cause cleaning is not my jam. Nothing grinds my gears more than a disorganized car, cabinet, closet, or drawer. But scrubbing the tub? You can forget about it! Cleaning is not my calling 😅
Here’s a list of my favorite spring “cleaning” and organizing projects from my kitchen.
Find any of these tips helpful? Be sure to let me know! I’m always happy to share more in the future.

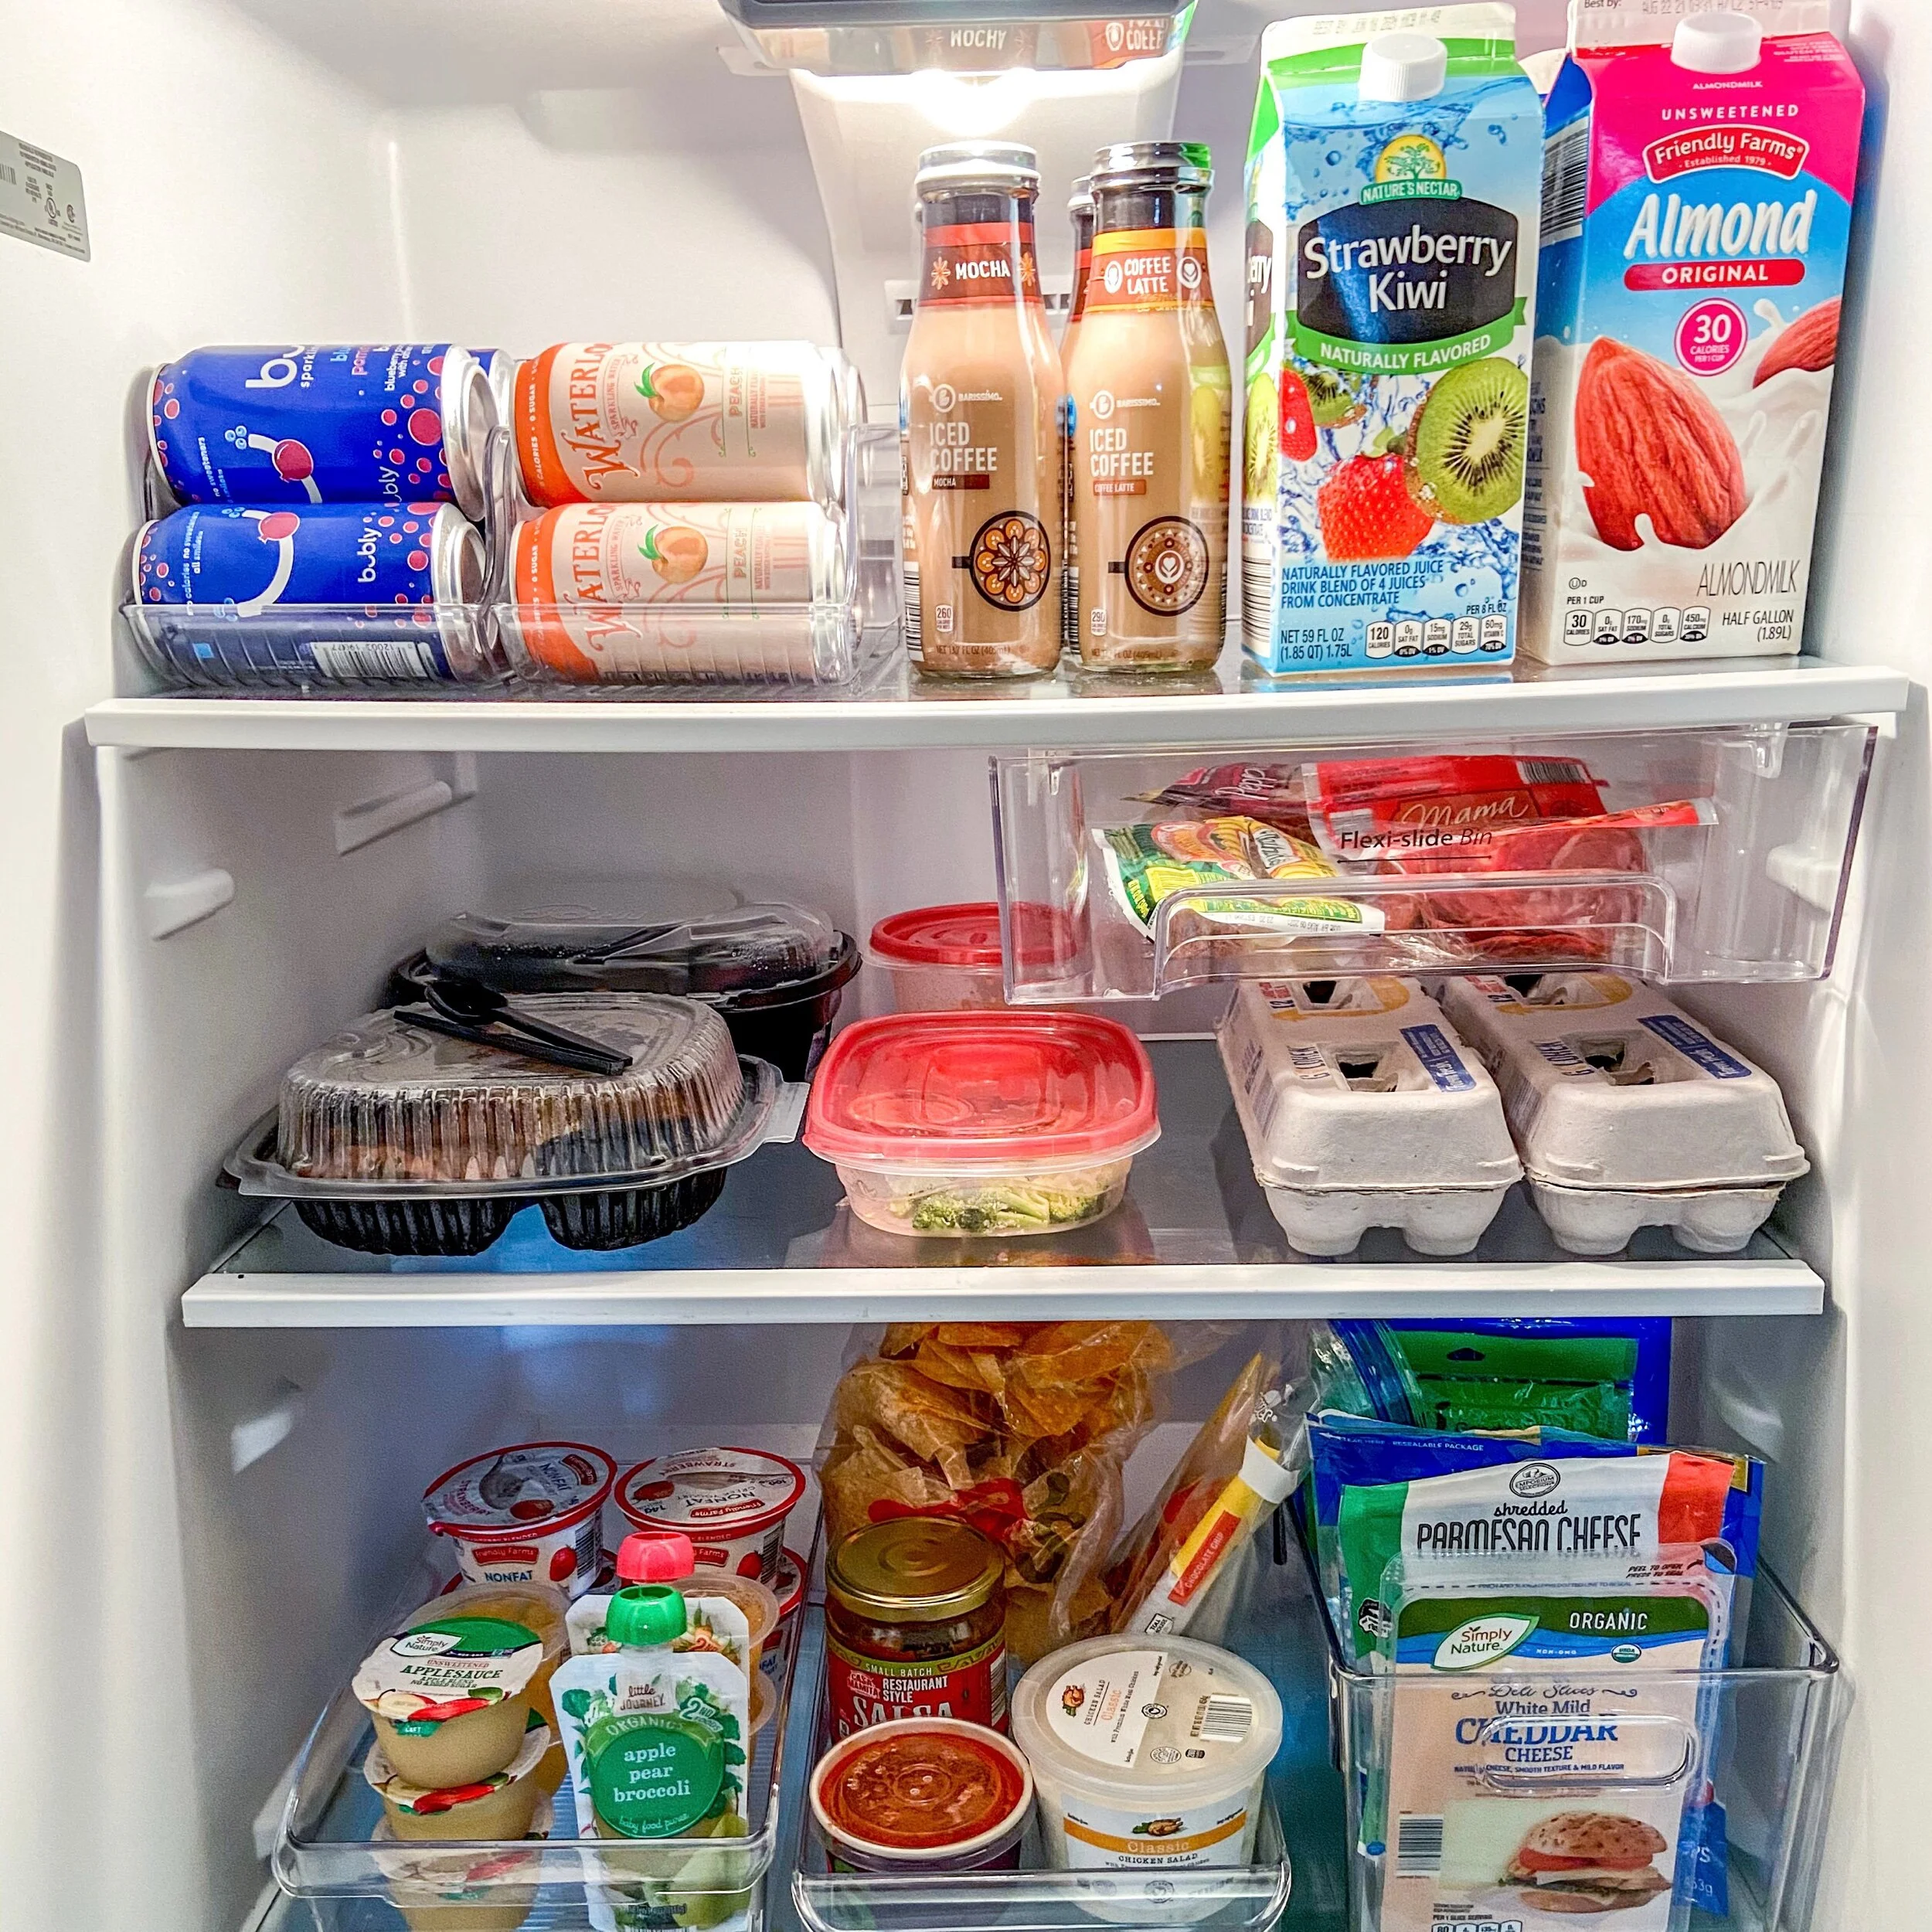
Tips for organizing the refrigerator
There’s nothing I love more than a beautiful, colorful refrigerator with a system that works for me! I took my passion for containers on a trip with me to my local HomeGoods and got acrylic containers to divvy up the sections in my fridge. Before, our space was cluttered with jars and bags that didn’t quite fit where we wanted them to. Now, our fridge is one of my favorite parts of the kitchen. Each area/section has its own rules and it makes it easier to take things out, sort ingredients, move things around, and now cleaning is a breeze! No need to worry if your soy sauce gets knocked over a spills all over the place - you just have to clean one bin instead of the entire shelf.
Pro Tip: If you’re hooked on sparkling water like me, go ahead and get you some soda can containers to show off your collection of bubbles. La Croix, Waterloo, Bubly, you name it - they’ve all got a place in my fridge!
If you’re thinking about organizing your fridge, here is what I’d suggest:
Take out all of your food/ingredients. Toss out anything expired or things you no longer need/use.
Clean everything! All your shelving, jars, condiment bottles, literally everything. I like to wash these in the sink with dish detergent like dishes :)
Group each item from your fridge by its characteristics or rules determining how you normally use them (ie. snacks, breakfast items, leftovers, raw meat).
Give each group a home or section to live in your refrigerator! Each section should have a rule and you can place items there based on how you want you and/or your family to use them. Example: snacks go here, drinks go here, produce goes here, toppings go here. Hack! This makes grocery shopping a breeze. Think to yourself, “Are we low on snacks? Hmm, let’s see…let’s take a look at the snack section of our fridge.”
Decide if you need containers - you might not. Don’t overdo it here. We all love the Pinterest perfect fridge but that last thing you want is containers that don’t work for you. Think about what you grab the most often or sometimes need to shift to the back to make room for leftovers. This is how I decided on my containers. Then, I chose containers that are easy to fill, access when I need them, and easy to move when they are in the way. Note: Some people use carousels or turntables for sauces. I don’t recommend that - just your shelves!
Pro-Tip: When you put things in their place, be sure to put newer ingredients in the back and older ingredients in the front. This will ensure you’re making your meals and choosing your snacks based on your purchase date. That way, you’re less likely to waste food. 😉
Tips for organizing a (tiny) freezer

My process of organizing the freezer is somewhat like organizing the fridge, but smaller. By no means am I an expert in this area, because my freezer is super tiny compared to what I’m used to. Sometimes it feels like I’m just cramming stuff in there, and at one point, we actually got rid of the bin for our ice maker because it took up too much space (this is what happens when we stock up on goodies to last us for a while). However, we all know it’s best to divvy up storage by creating zones. I used the same acrylic bins from HomeGoods to help me create zones and then I gave those zones a home - ba dum tss. I made a veggie zone, fruit zone, meat zone, dessert zone. Any zone I could think of, we got it. As far as tips for organizing a normal sized freezer, I’d copy the tips listed in the refrigerator section. However…
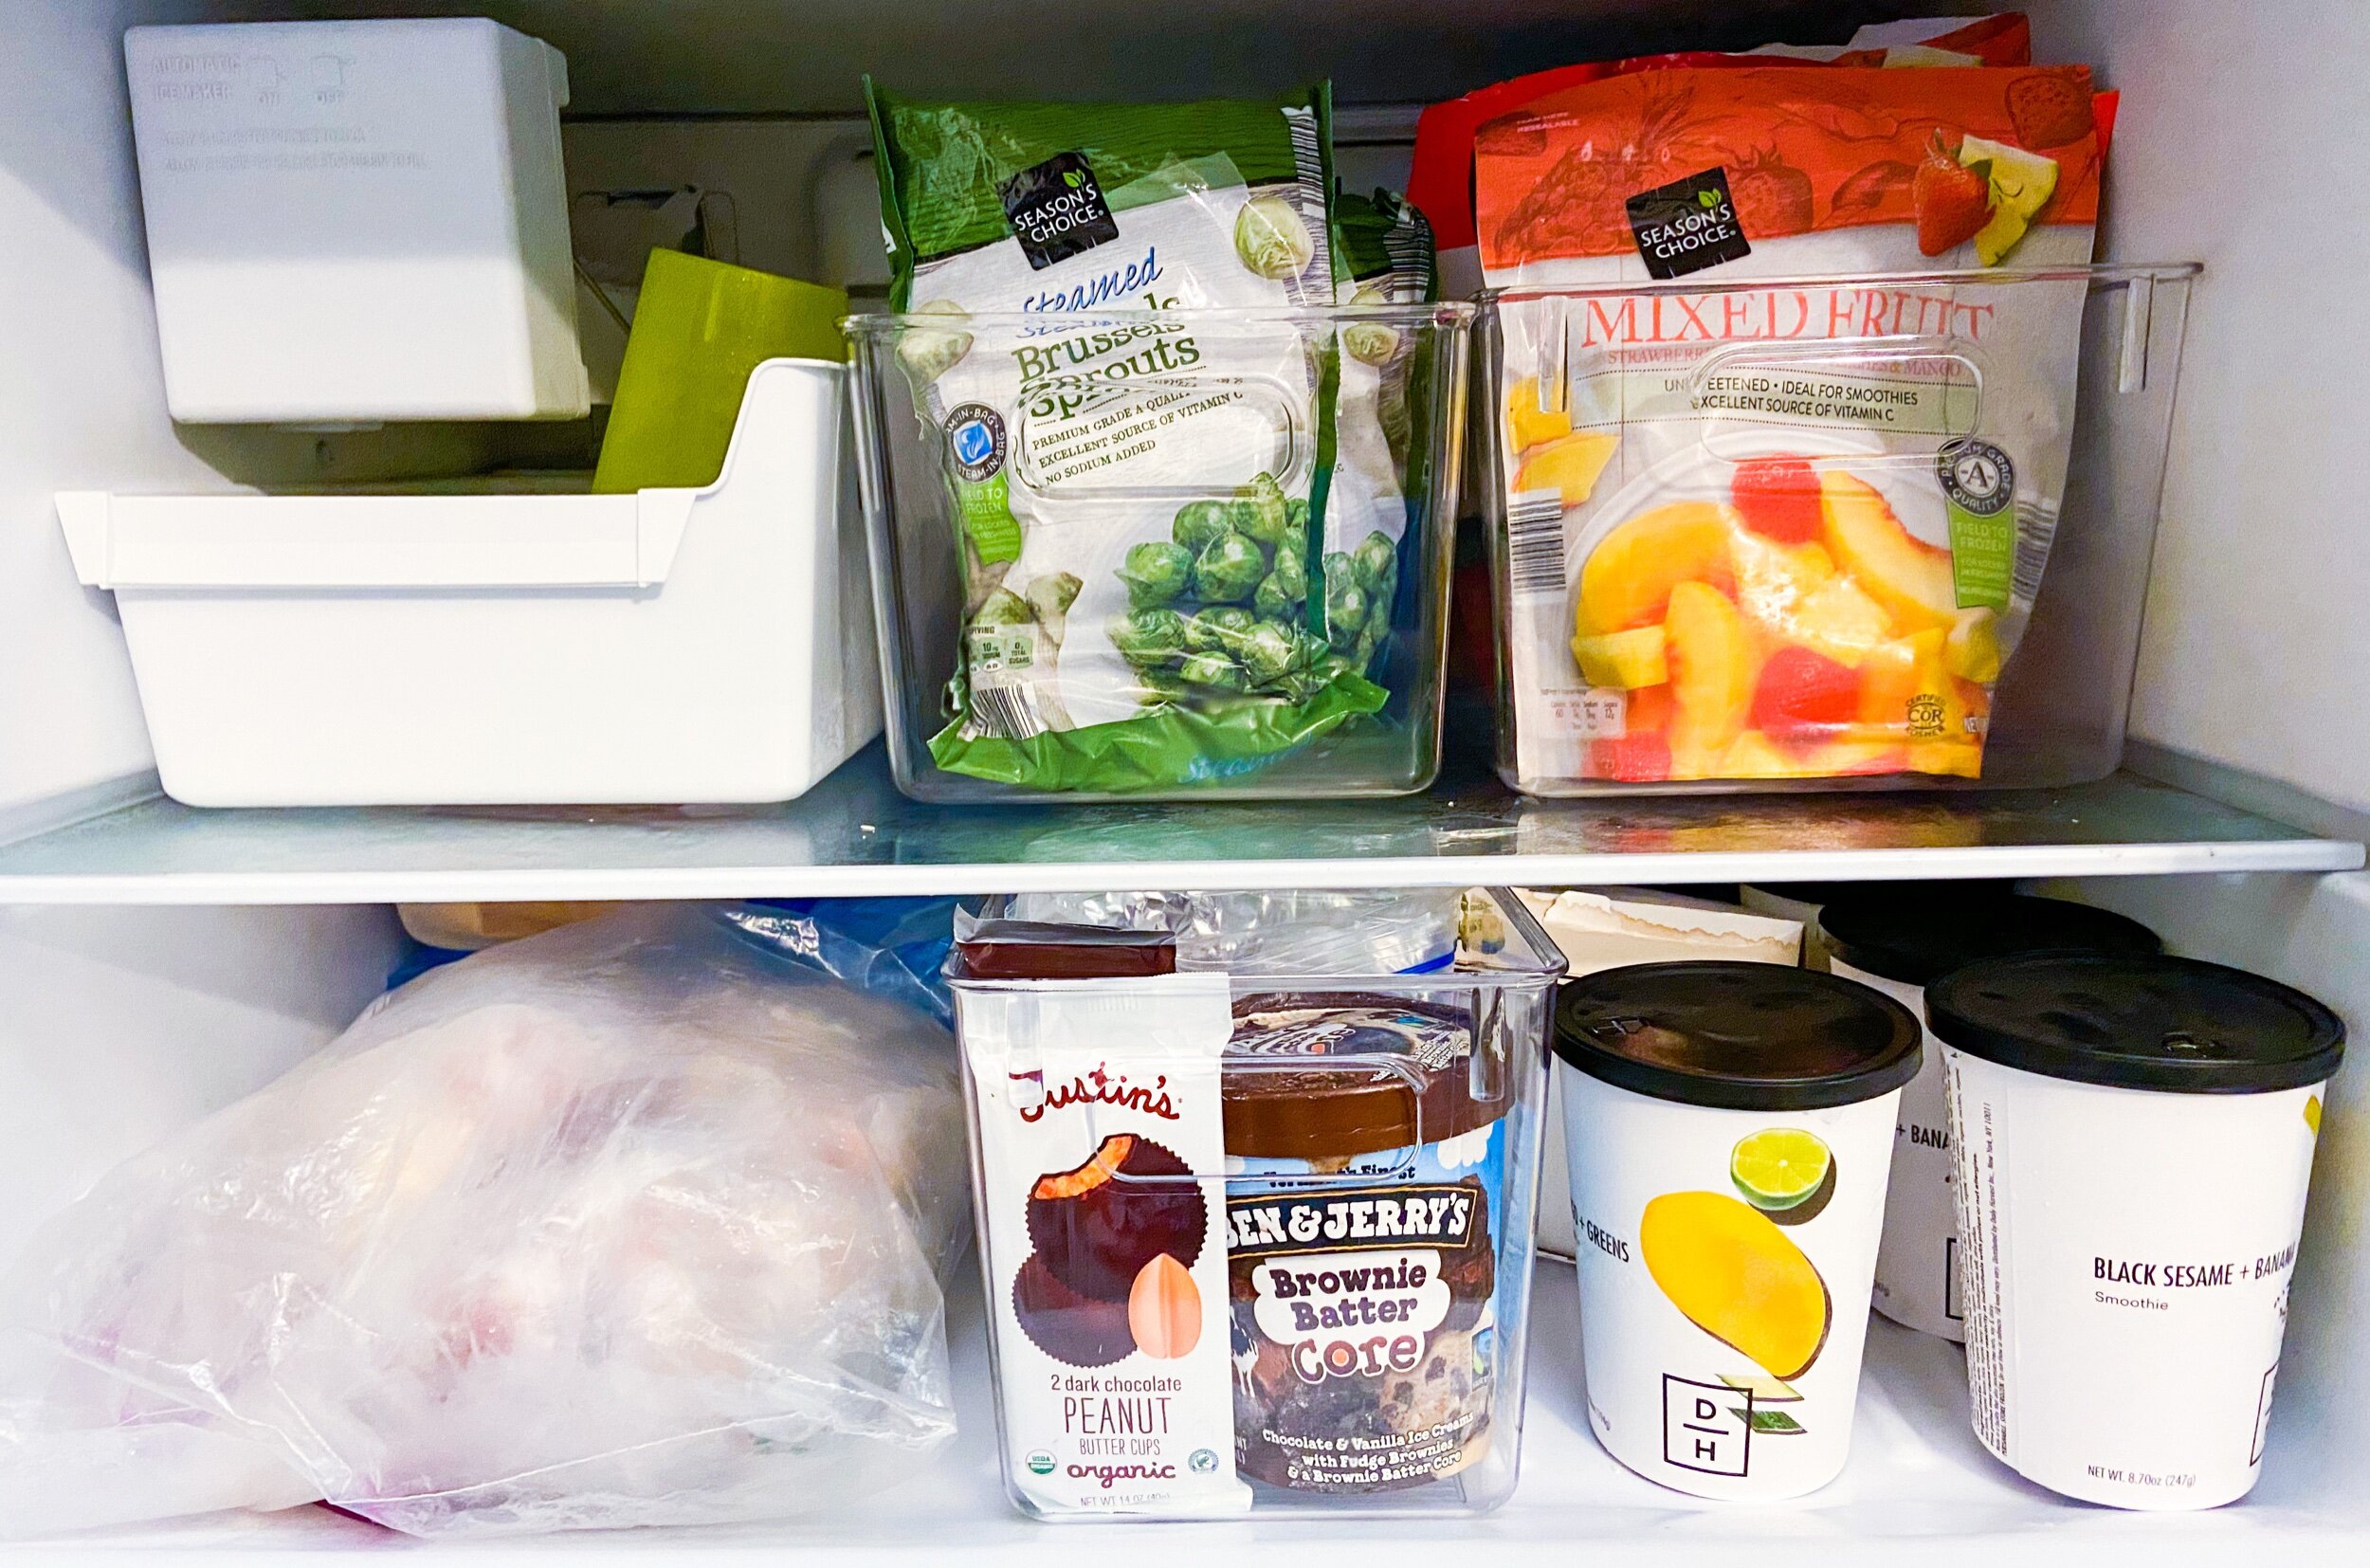
Here are hacks for maximizing space in your freezer:
Get rid of boxes from original packaging. Boxes can be so bulky and take up too much space! A lot of times the items inside of the boxed packaging come in bags anyway. So, if I’m getting rid of the box I’ll either just keep the frozen food in the internal bag - or - dump the items into a freezer bag, cut out the cooking instructions (if I need them) and throw the instructions in the bag as well. Saves space and you still know how long to cook them *flips hair*
Store vertically instead of laying bags down flat. Think “file cabinet.” You can get a lot more into a container and it’s easier to take something out when you need it. There’s no “stack” to ruin.
Maintain your sections. I understand there will be times you must encroach on one section because you have overflow from another. This tends to happen with my frozen veggies and meat. However, when the over-crowded section begins to clear up, don’t forget to move the overflow into its rightful space. If not, you risk losing precious meal-prep time looking for those brussel sprouts that ended up behind the ice cream! How???? (true story)
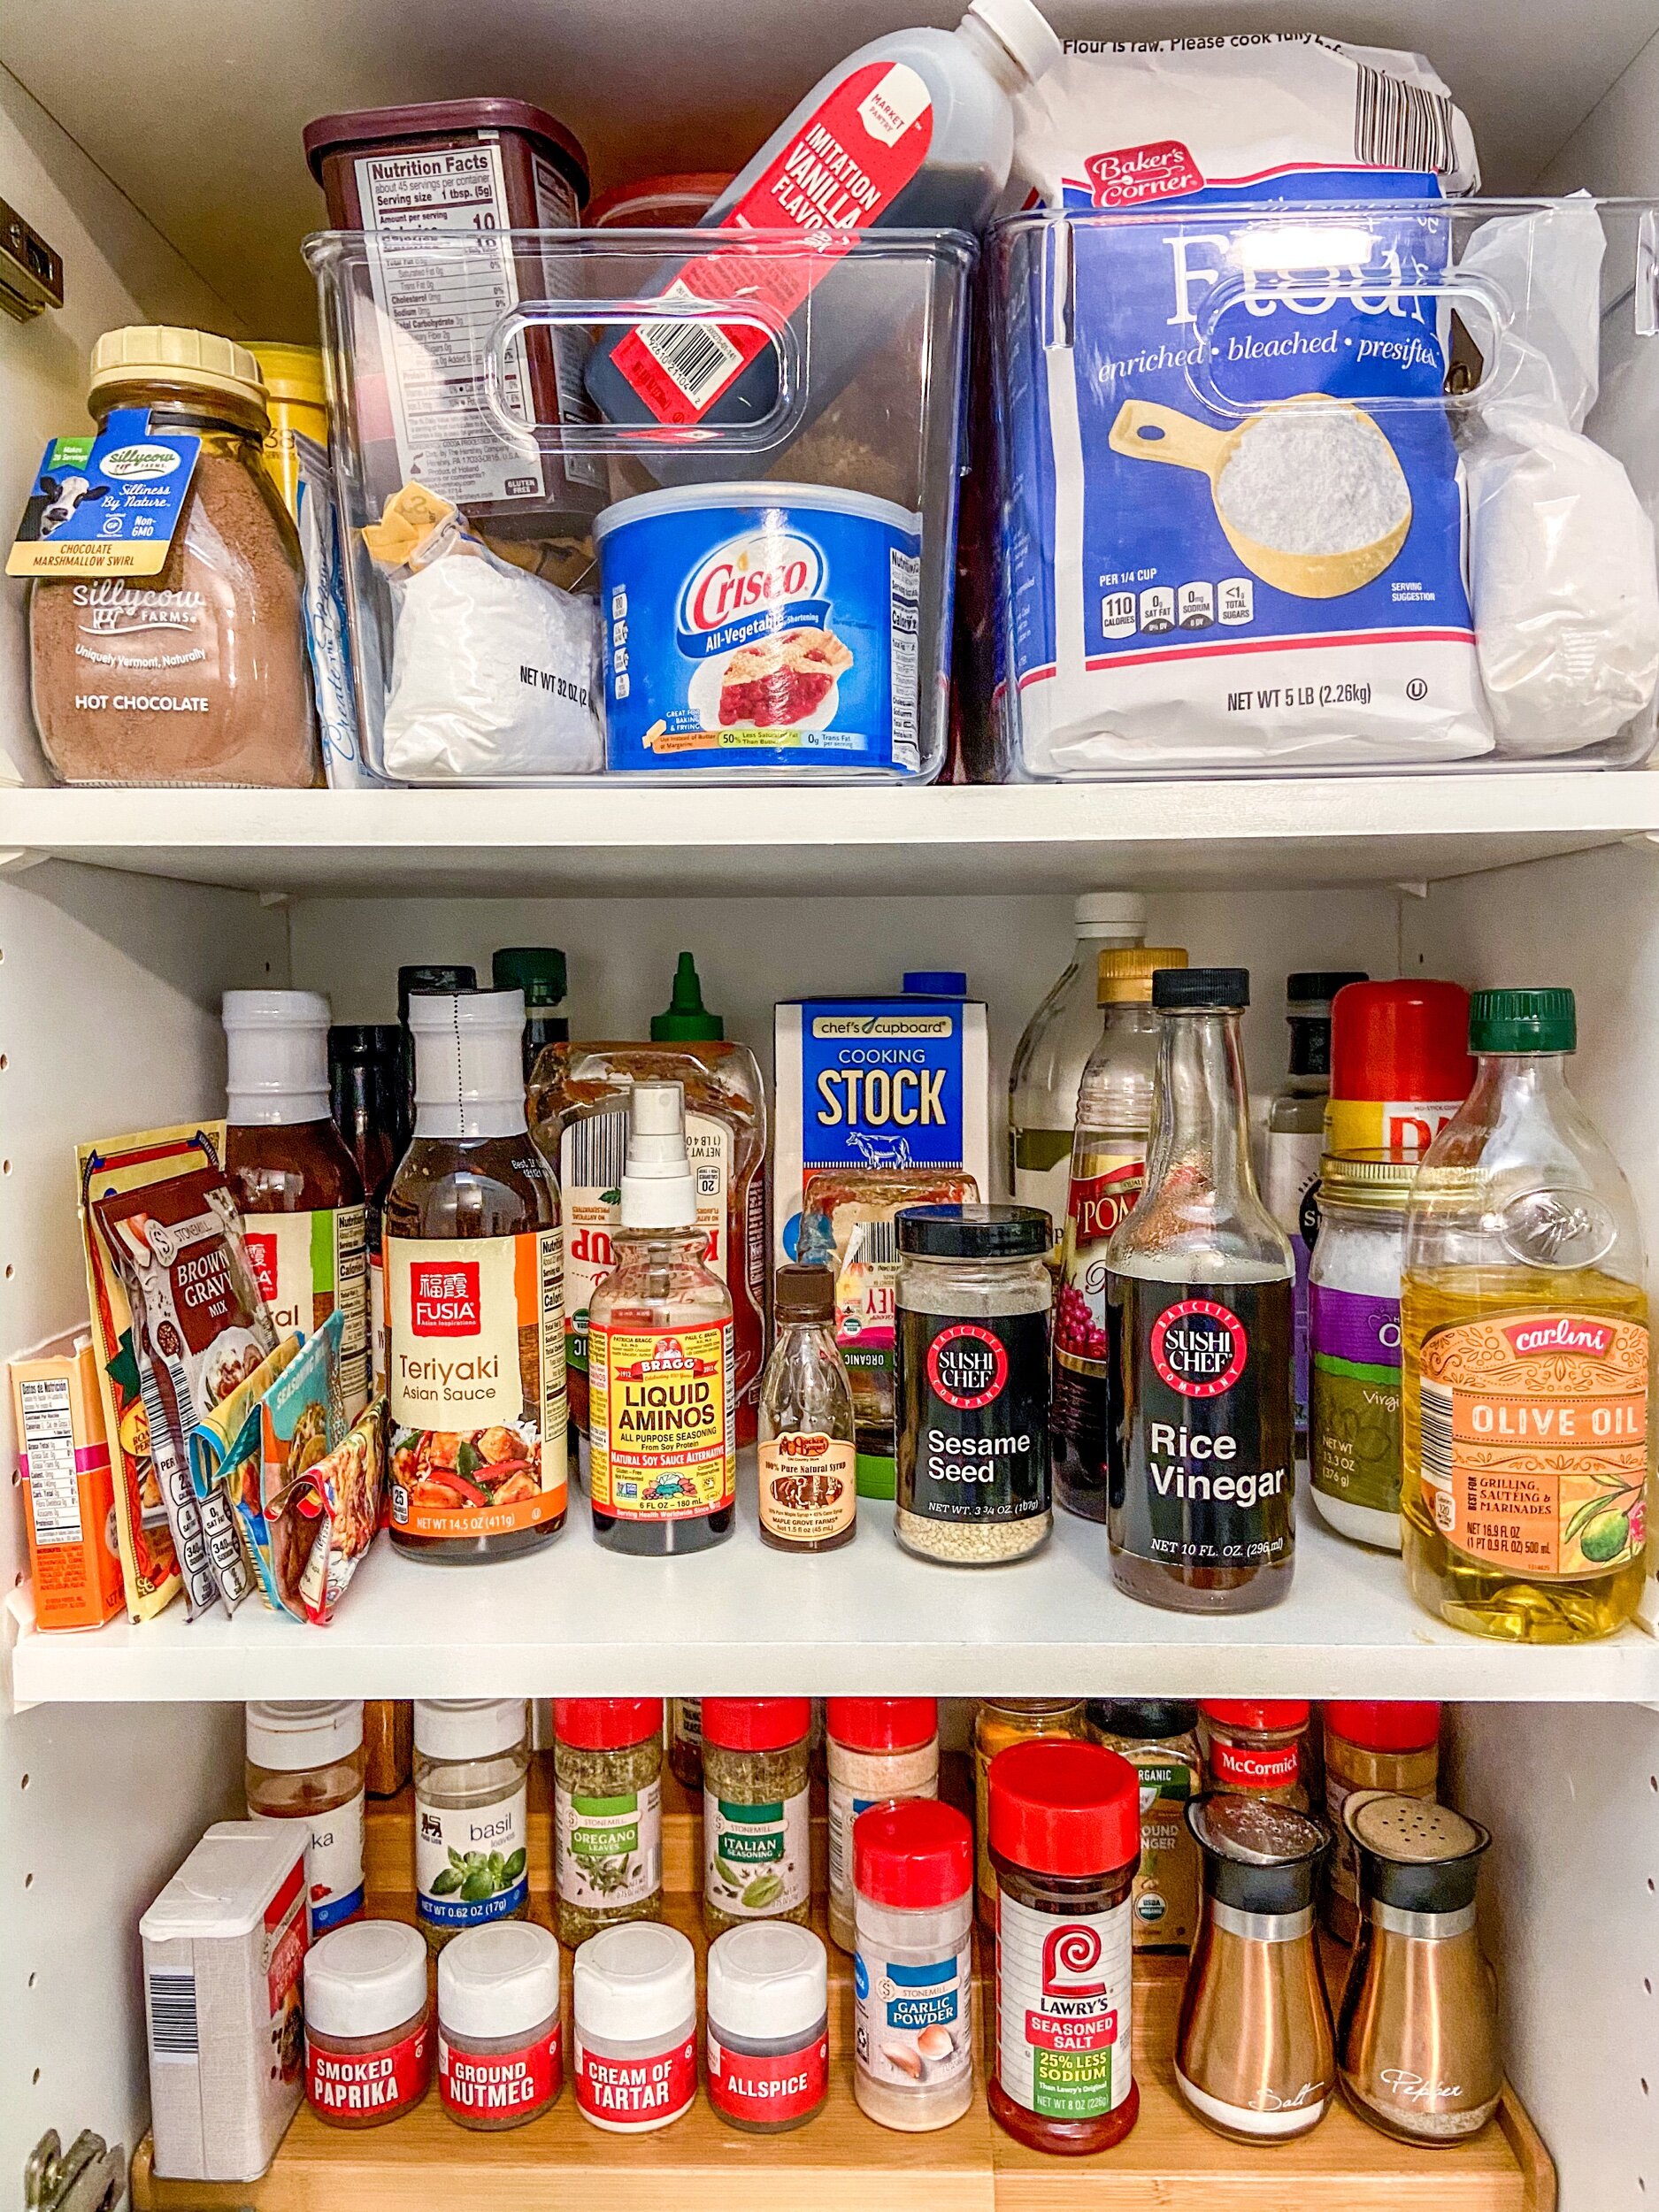
Tips for organizing kitchen cabinets

This project is typically the easiest for me because I make a habit of keeping my cabinets neat and orderly. However, if this isn’t you, here’s how I’d recommend you think about cabinets. There are 3 main types of items we typically keep in kitchen cabinets:
canned food and dry goods
oils, spices, and seasonings
dishes — lots of dishes, glasses, and storage containers
If you think about organizing your cabinets based on these needs, you might find it intuitive on what to do next. I find it easiest to use the cabinets closest to the stove for oils, spices, seasonings, and of course - the things you put them in - pots and pans. If you have a dishwasher, it typically makes sense to put your dishes in the cabinets near the dishwasher and the sink. Then, all that’s left is your dry goods which may or may not going into another cabinet or pantry.

There’s really not too much rhyme or reason to how I do what I did with my cabinets, but here’s an overview on how I did it.
Choose what each cabinet will be for based on your own needs. Don’t know where to start? Use my guide above as an outline to get your started.
Within each cabinet, designate your zones. Ex: Breakfast items go here, dinner items go here, snacks go here, baking ingredients go here, etc.
If stacking from back to front (like my spice shelf) put your most frequently used items in the front and the ones you barely use in the back. This helps keep the space organized as your not fumbling through all your seasonings to find the thing you need most.
Pro-Tip: An alternative to a spice rack might include a turntable/lazy Susan or carousel. It can also be cute to put them in uniform glass jars with cricut or handwritten labels. That’s not really my jam but if you think that could work for you, go for it! It’s all about what works best for you!
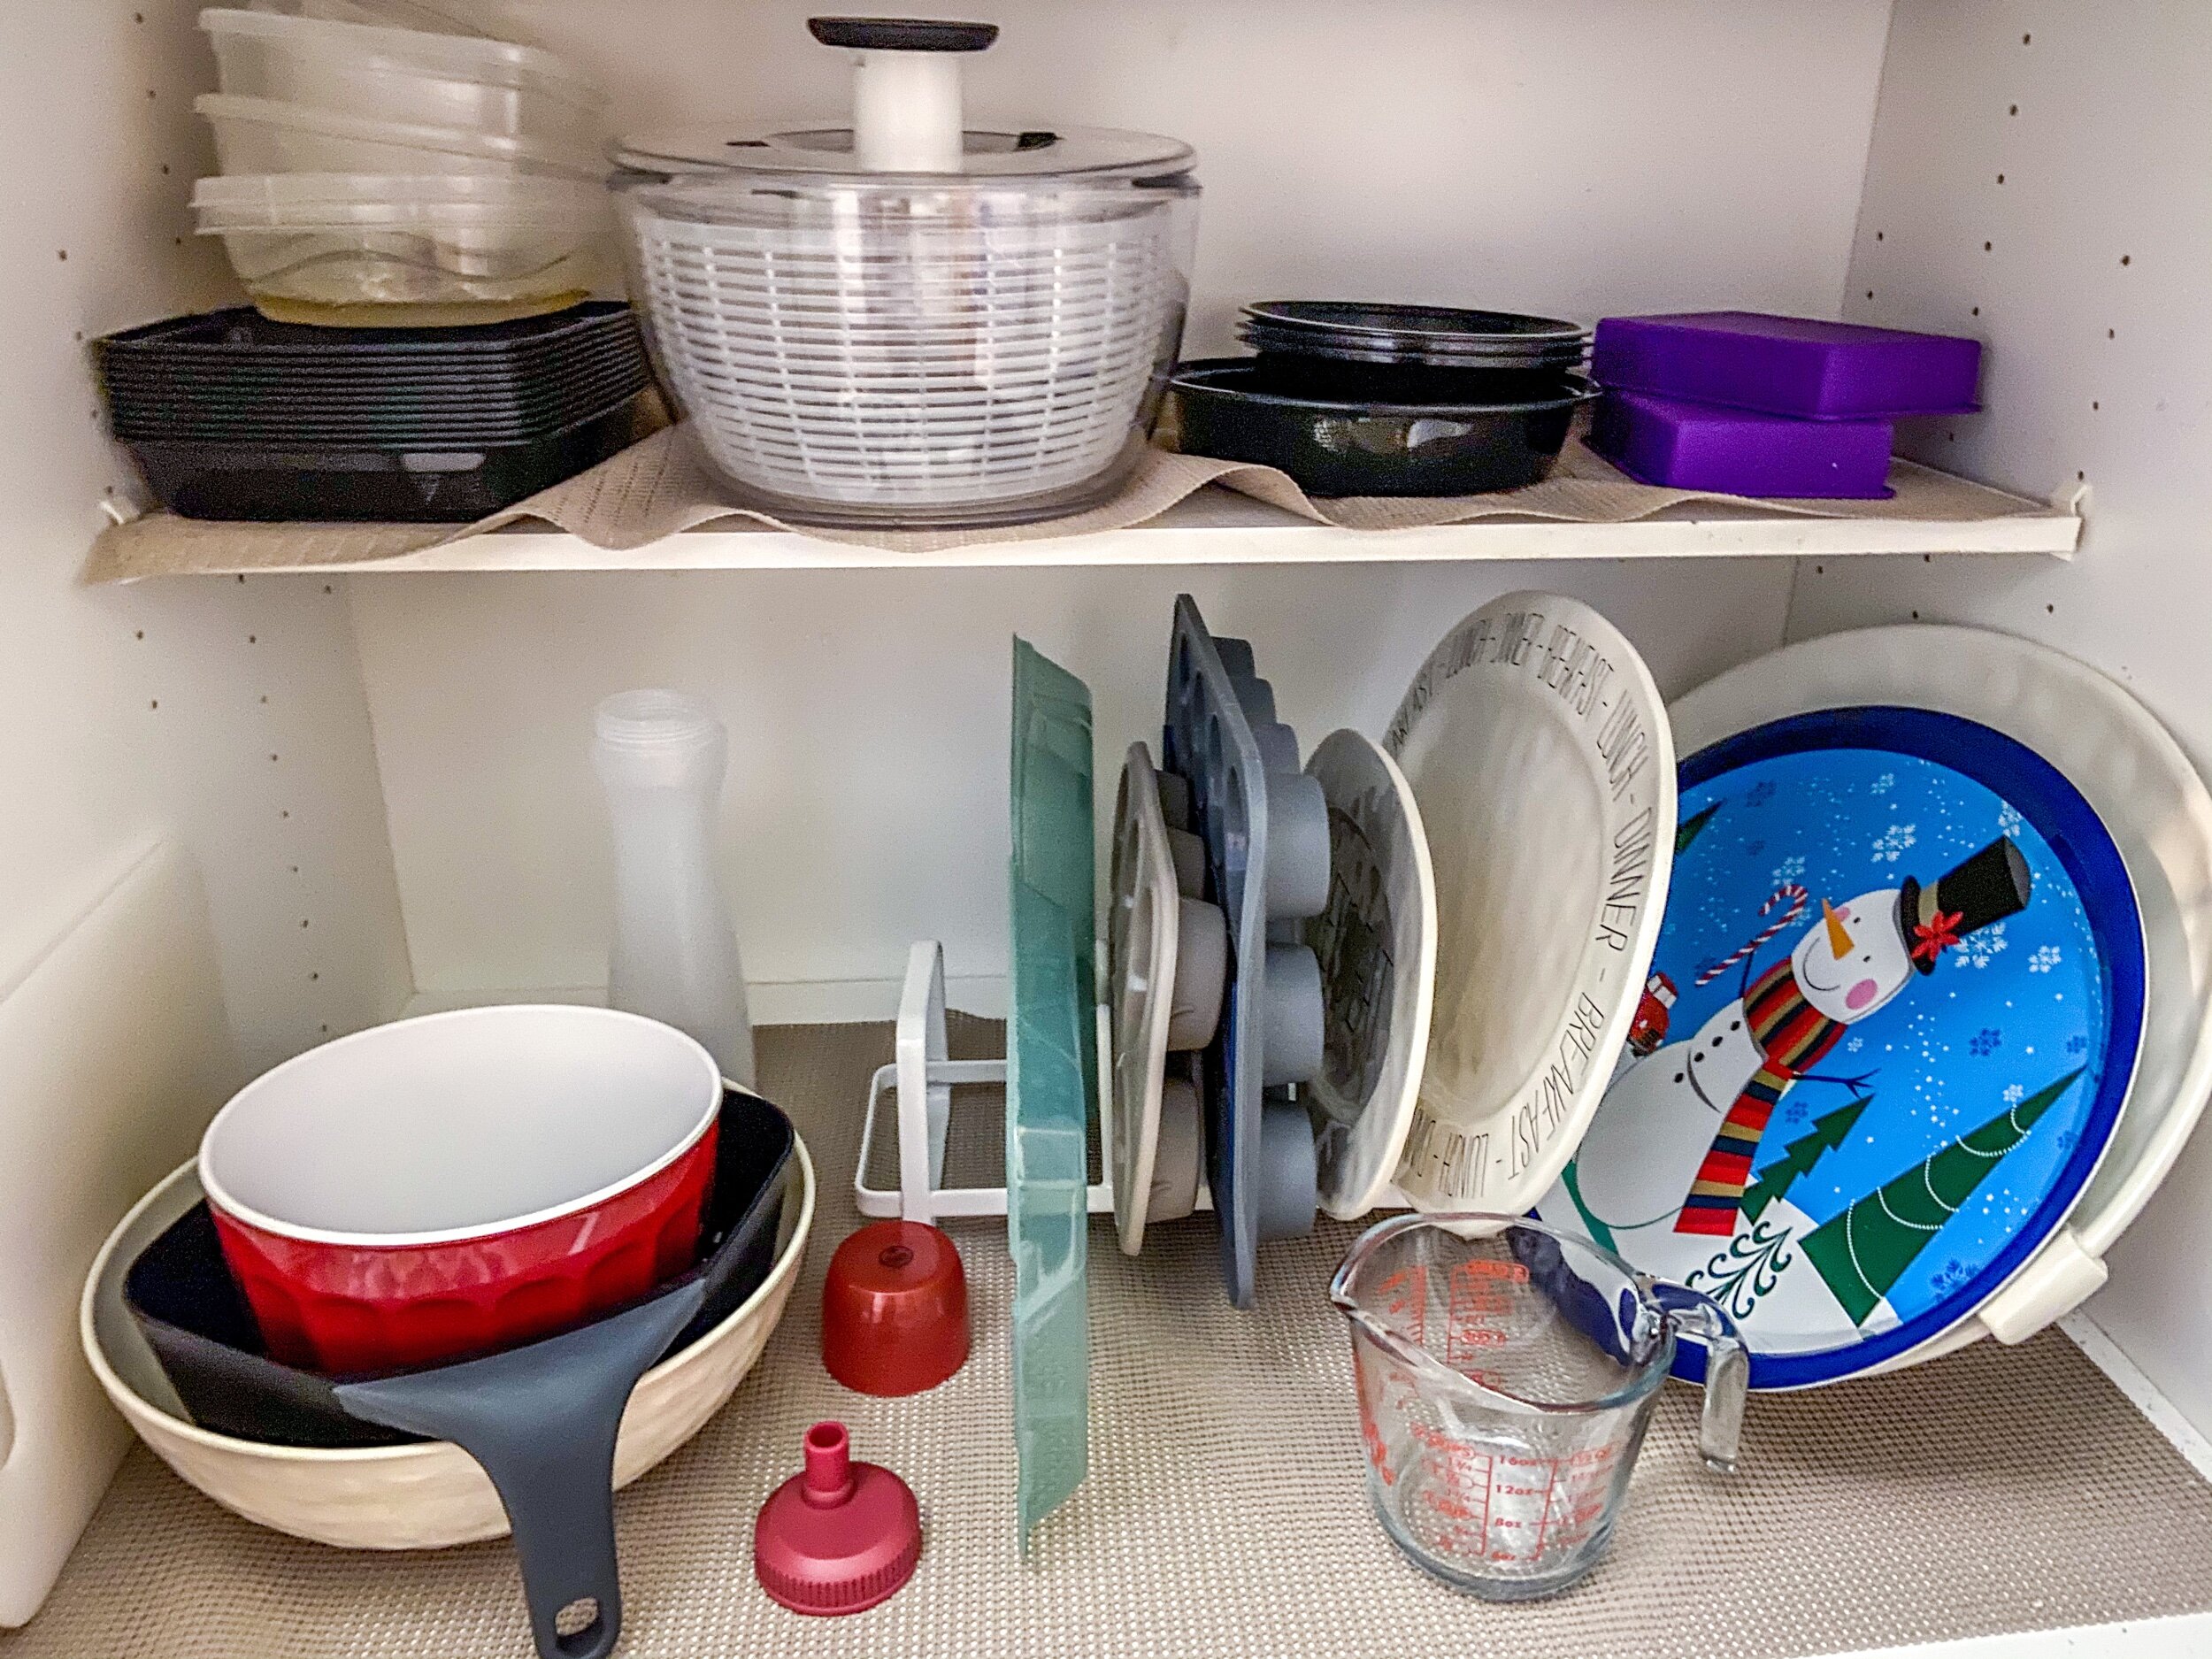
Here’s how I organize my pots/pans, dishes, utensils, and galore in our small kitchen.
1. Use vertical storage to get pans and lids in one area.

2. Use stackable shelves inside your cabinets.

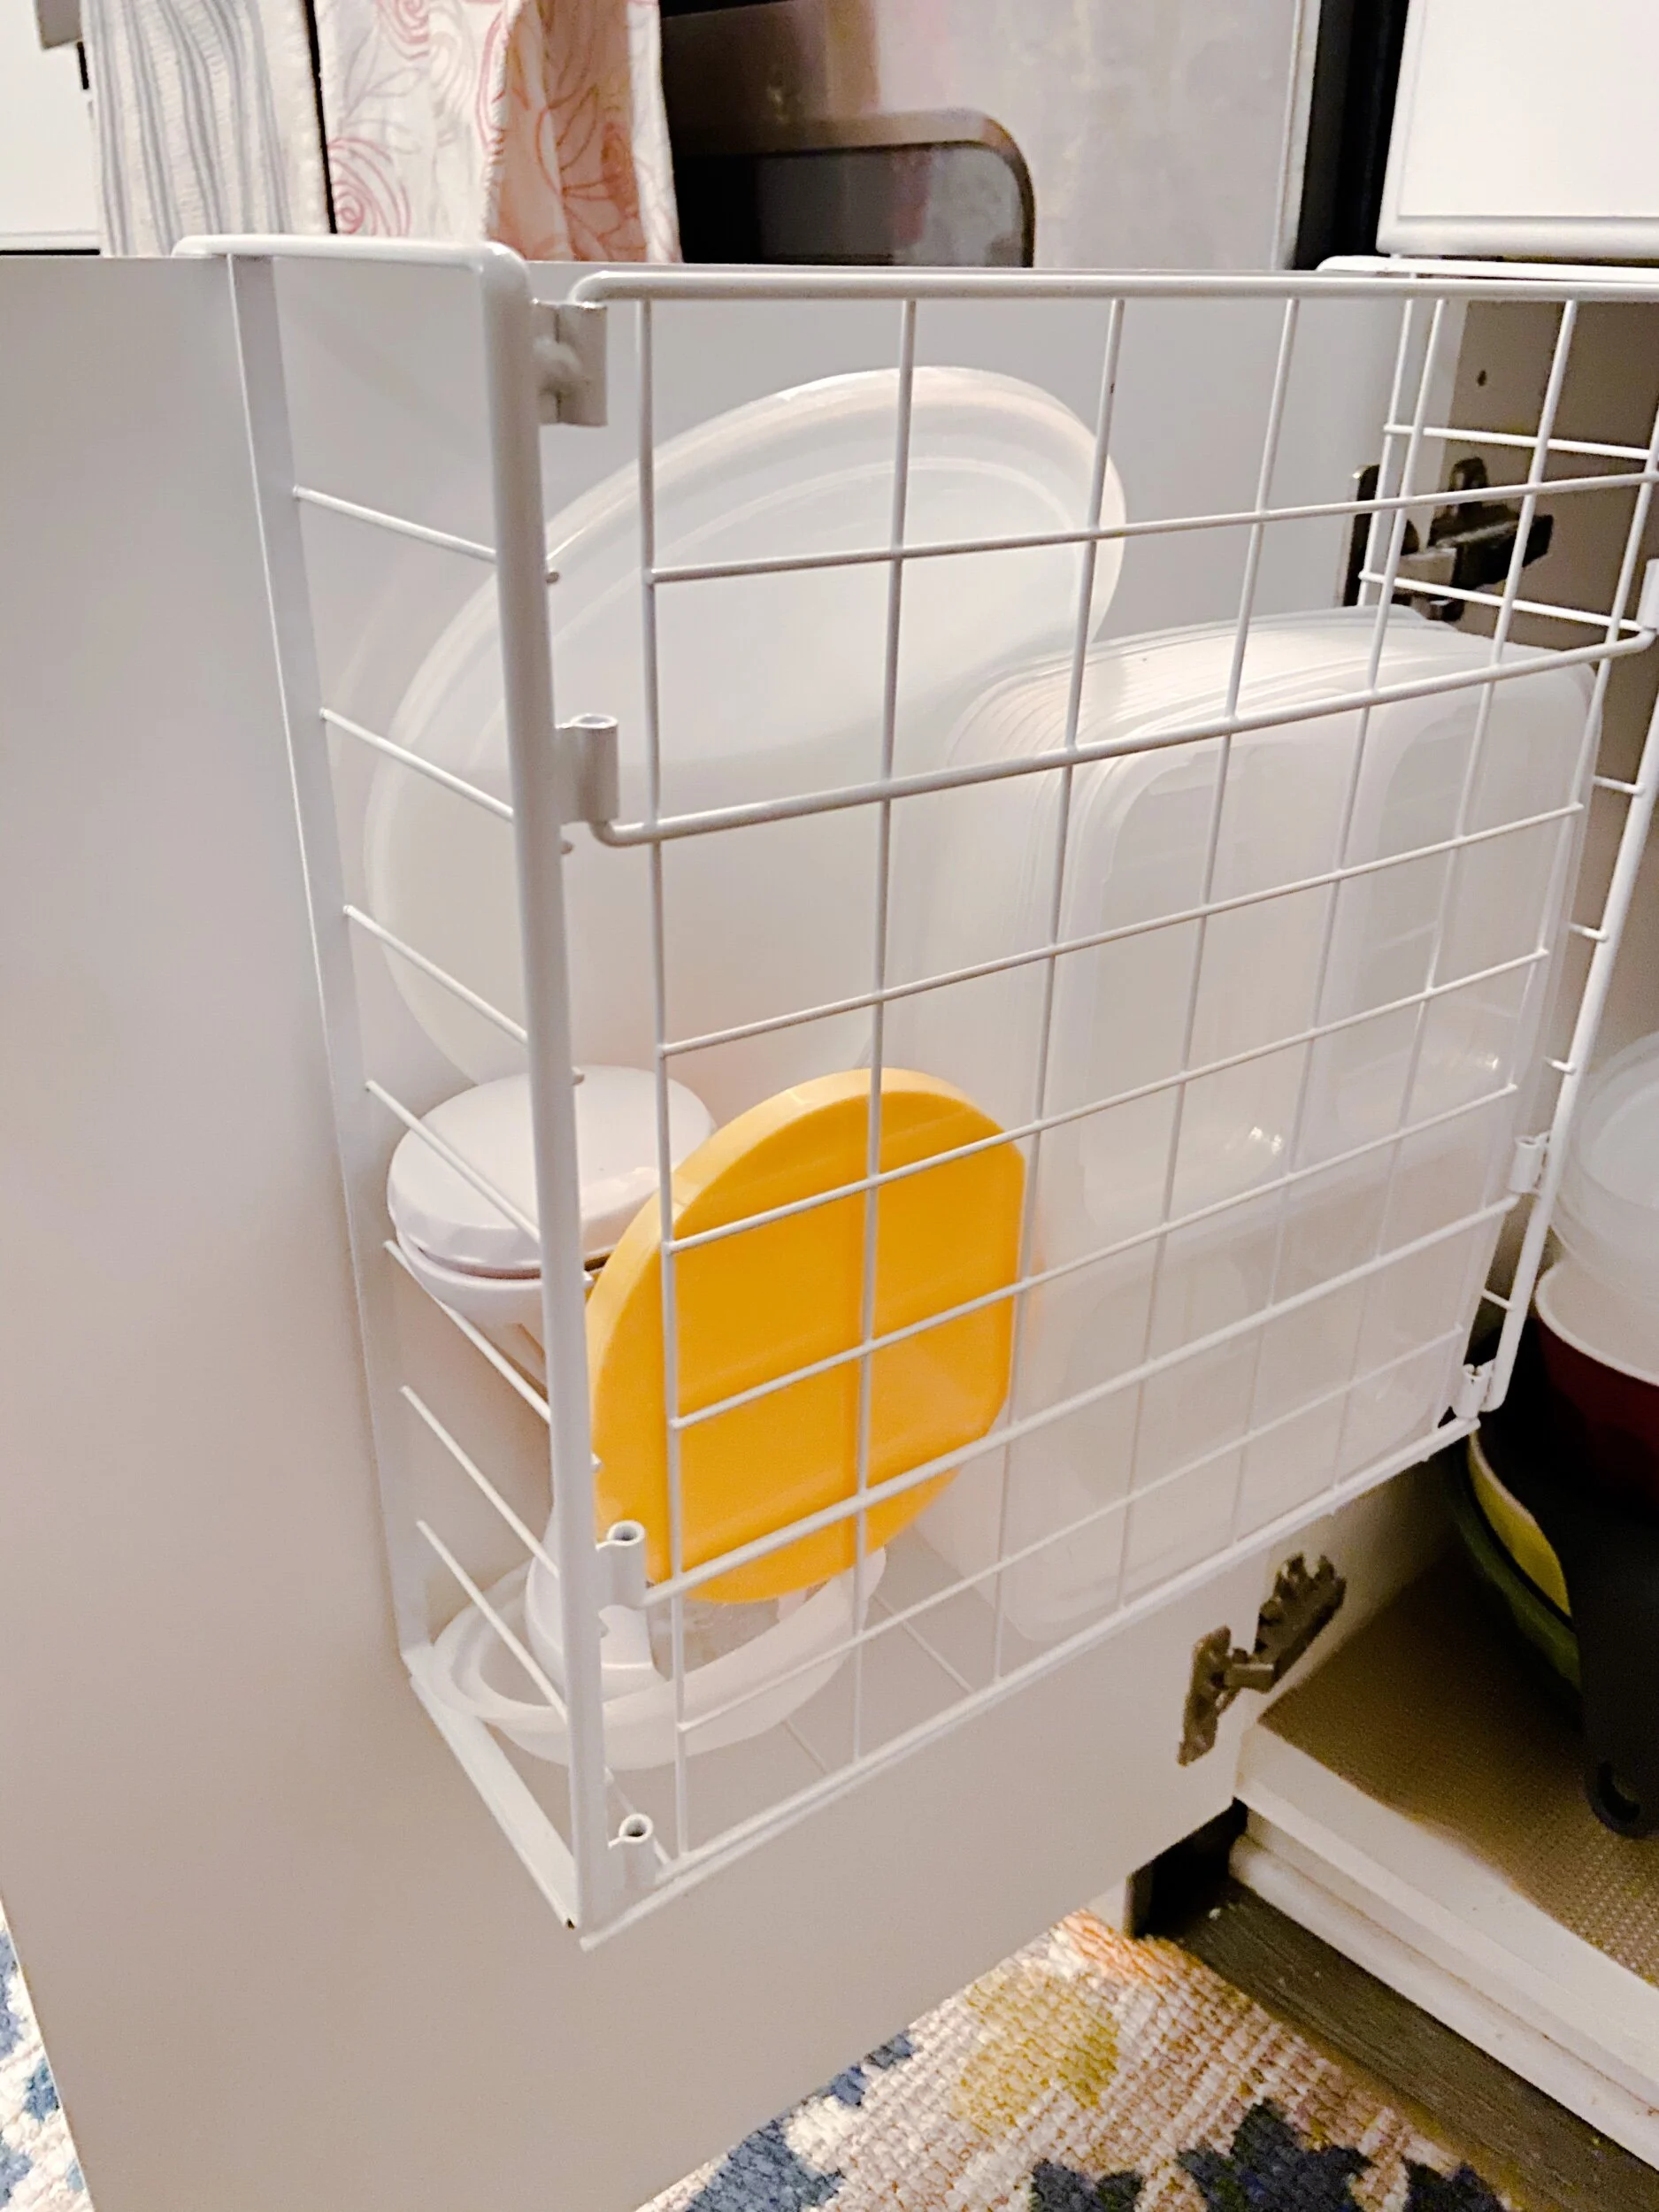
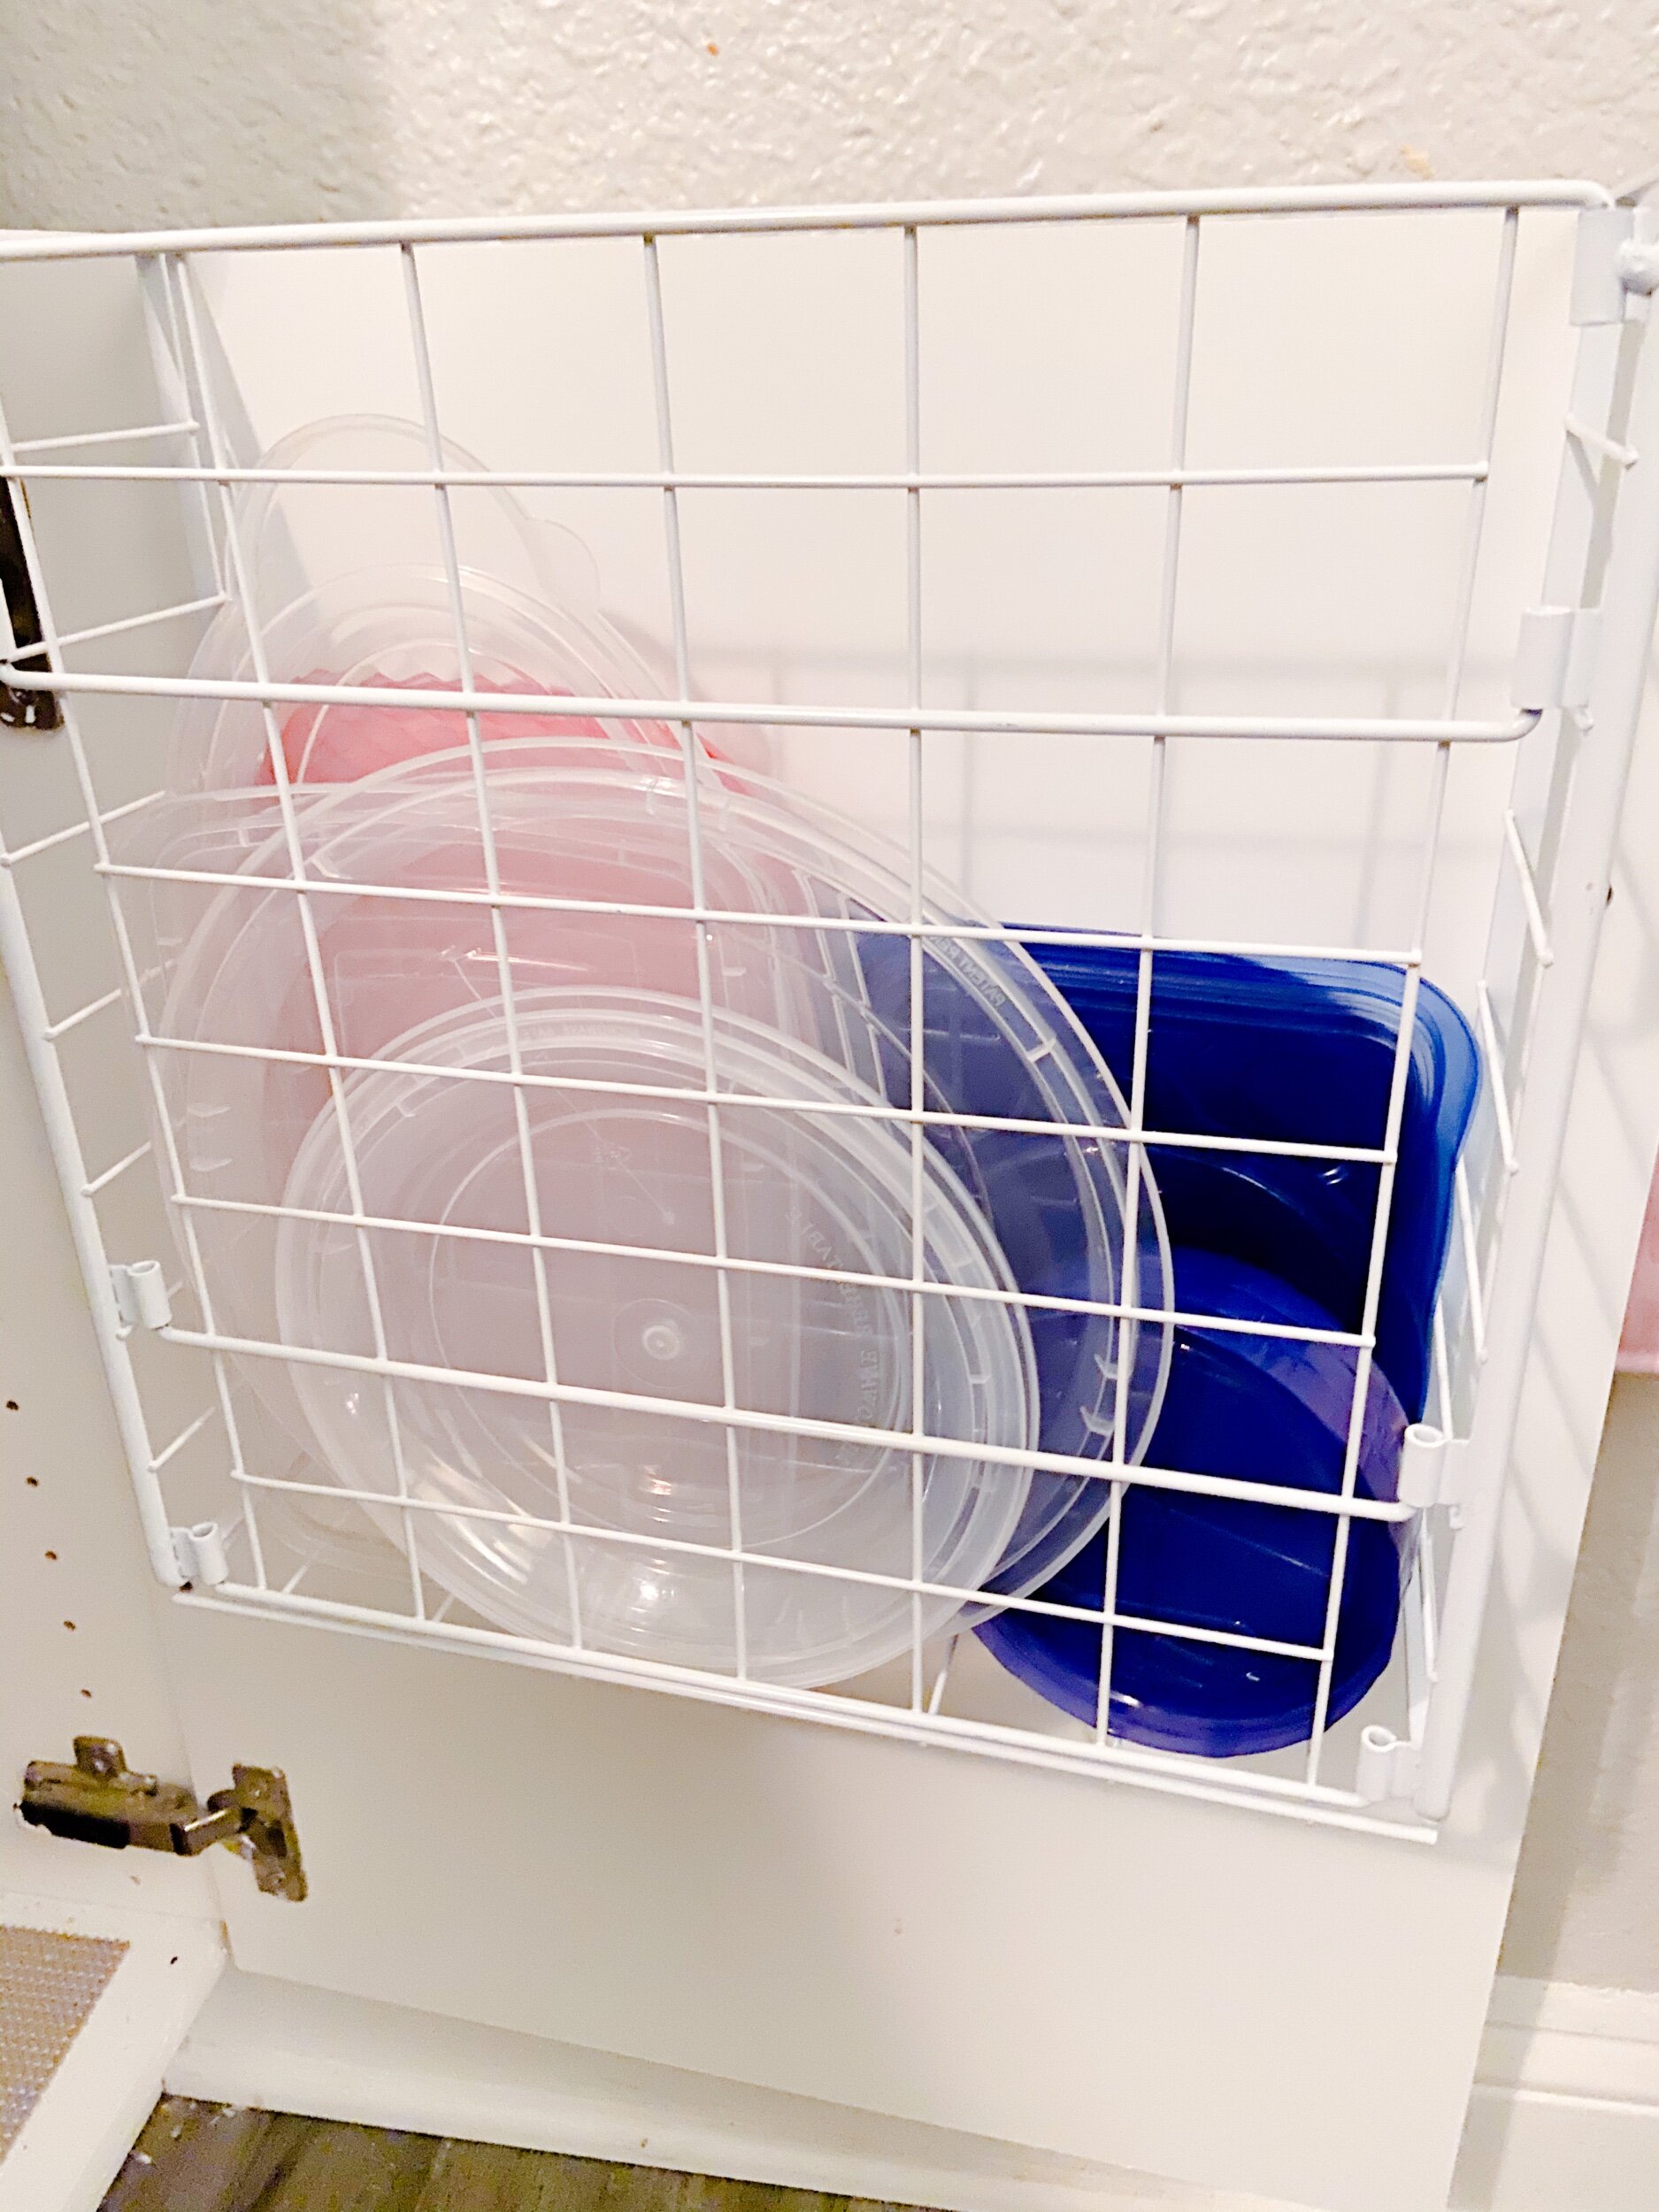
3. Use wire hanging baskets on the inside of your cabinet doors.
4. Store serving trays vertically so they are easier to get out.
5. Use organizing trays to keep your drawers compartmentalized.

Those are all the kitchen organizing tips I have (for now). Stay tuned for more advice on how to organize your home and improve your space. Need help organizing? Let’s chat! I’d love to help!
Until next time…happy organizing!
Sincerely,
Takira